The first and foremost thing is to select one picture with a pretty high black and white contrast.
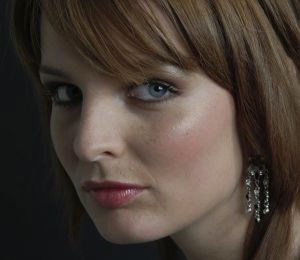
As you can see, in the right side you have a higher contrast between the face and what’s in the back. It would be perfect if you use this kind of pictures. If you want to use the same photo, right click on it – copy to clipboard. From Photoshop – File – New – OK – CTRL + V.
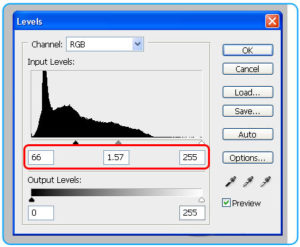
For a higher contrast: Image – Adjustments – Levels – add the following values:
Select the Polygonal Lasso Tool (from the top menu Feather: 10 px, check Anti-alias) and make a similar selection, so that after we will erase, only the face will remain (without hair, neck and other details)
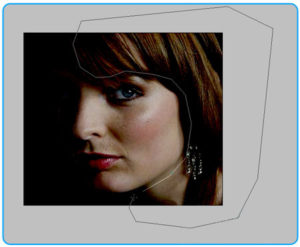
Press D to reset the colors (white/black), then select Brush Tool and cover all the selection.
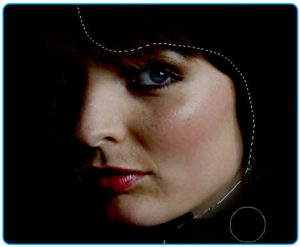
CTRL + D to deselect.
Transform the image in white and black: Image – Mode – Grayscale – Discard.
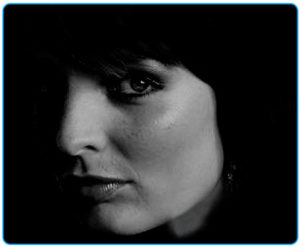
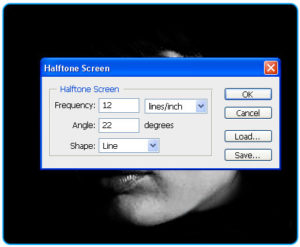
Now we add the Halftone effect: Image – Mode – Bitmap – Flatten Layers? Press OK – at method – Use and select Halftone Screen:
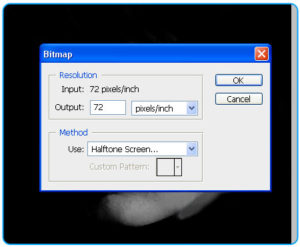
Press OK and add the following settings:
Frequency: 16 lines/inch – the number of lines on an inch
Angle: 22 degrees – the angle under which the lines fall
Shape: Line – shape: in this case I’ve chosen lines but you can test the other values too (Round, Diamond, Elipse, etc)
OK to apply the effect.
Now we’re gonna add the picture on a shirt. Open this picture with the shirt:
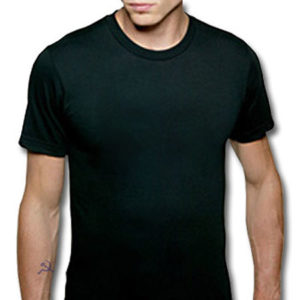
Right click on it – Copy to Clipboard. From Photoshop: File – New – OK – CTRL + V.
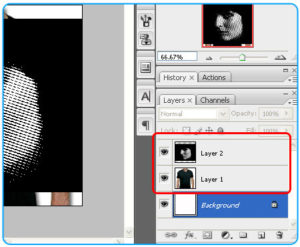
Then press CTRL + TAB until you find the document with the picture edited earlier. CTRL + A to select everything the CTRL + C to copy. Again, CTRL + TAB to get back to the picture with the t-shirt, press CTRL + V to paste. You now have in this document a layer with the shirt and above, a layer with the picture.
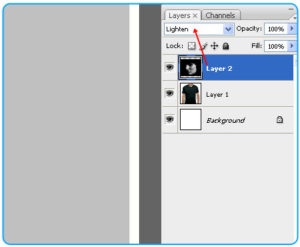
Select the layer with the face and change its mode into Lighten.
Press CTRL + T to resize and put the picture on the shirt.
And this is how the final result should look like:

